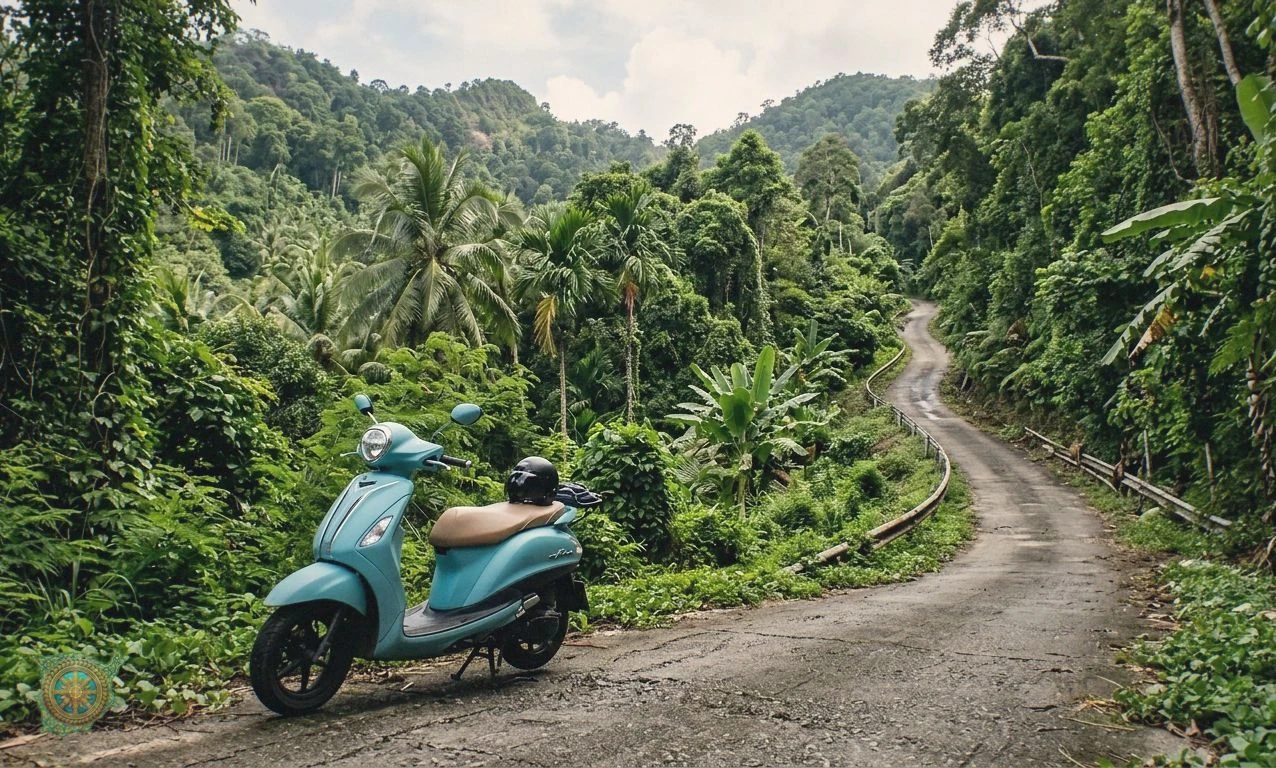
Why a generated photo looks generated
An image model makes a photo that is too good. Every part of the frame is in sharp focus. The light is even, like a studio, even in a street or on a beach. There is no grain in the shadows and no colour error anywhere. A person who scrolls past it may not say why, but they feel that nobody took this picture. For a local business, that feeling is a cost. The article is written to earn trust, and a photo that looks fake works against it.
Real customer photos look different. They are taken on a phone, in a hurry, in the light that was there. The corners are a little soft. The blacks are not fully black. The white balance is a little warm or a little cold. The file was compressed when it was saved. These faults are what a reader expects to see in a photo of a real shop, a real bike or a real beach, so we now add them on purpose.
What the phone look filter changes in a photo
The filter runs after the image is made and after your logo is laid on it. It does ten things, in this order:
- A slight soften over the whole image.
- Softer corners, the way a small phone lens loses detail away from the centre.
- A hint of colour fringing on strong edges.
- Flatter tone, with the blacks lifted a little.
- A small warm error in the white balance.
- A soft glow around the brightest parts.
- Sharpening on edges only, as a phone does after it takes the picture.
- A light vignette.
- Soft grain, stronger in the shadows than in the light.
- One compression pass, as when a phone saves the file.
Each step is small. Together they move the image from a render to a phone photo.
Indoor and outdoor scenes get different treatment
A phone camera behaves differently inside a room. There is less light, so the picture carries more grain, a warmer lean from indoor lamps and a darker edge. The filter follows this. When the image prompt for an article image is written, the same step decides whether the scene is indoors or outdoors, and the filter uses that answer. A workshop, a clinic room or a kitchen gets the indoor look. A street, a beach or a road gets the outdoor look, with little grain.
What the filter leaves alone
The filter changes the look of the photo and nothing else. It does not crop the image, it does not add text and it does not move or hide anything in the frame. Your logo is laid on before the filter runs, so the logo takes the same light grain and vignette as the photo around it and does not sit on top like a sticker. The filter also adds no camera details to the file. It makes the image look like a phone photo, and it does not claim that a phone took it.
How to switch the filter off for one image
The filter is on for every new image, and you do not have to do anything to get it. If one image looks better without it, open the article in the panel. Beside the image prompt there is a switch called Realistic filter. Turn it off and regenerate the image, and the next image is made without the filter. Turn it on again and regenerate, and the filter comes back. The switch belongs to that one image, so the other images in the article keep the look you chose for them.
What we saw when we compared the photos
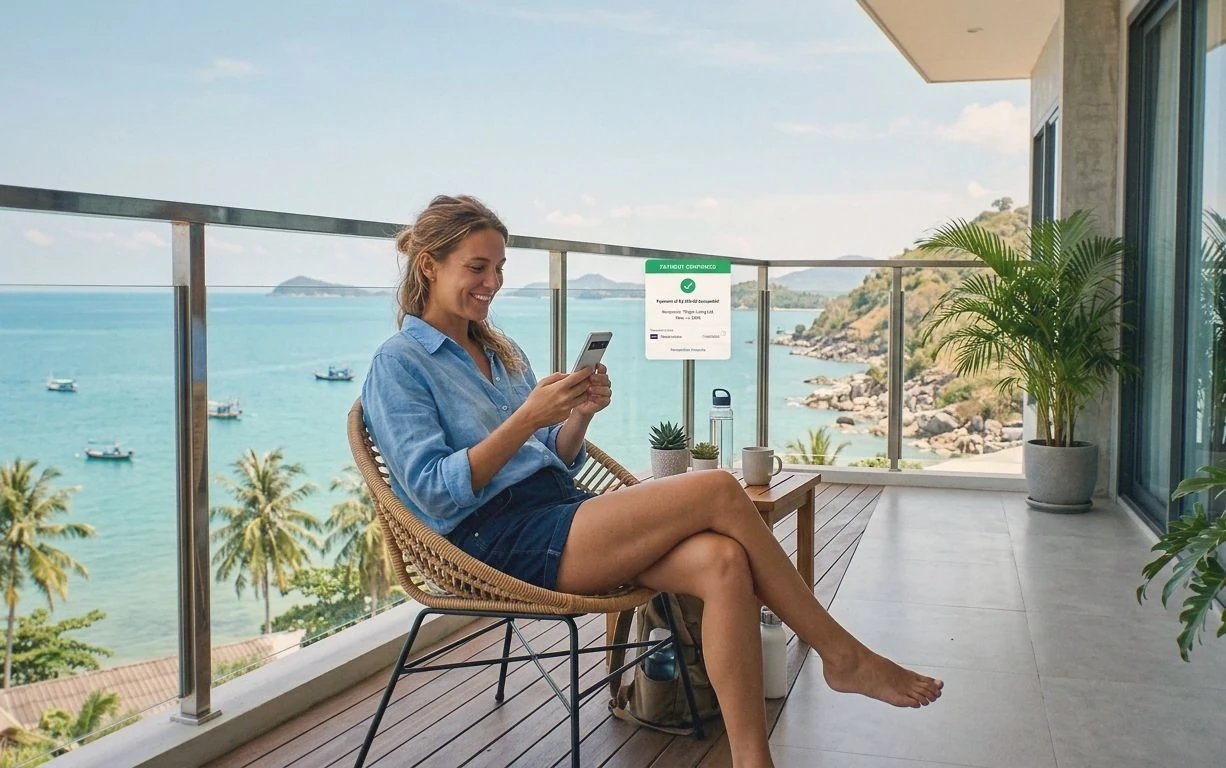
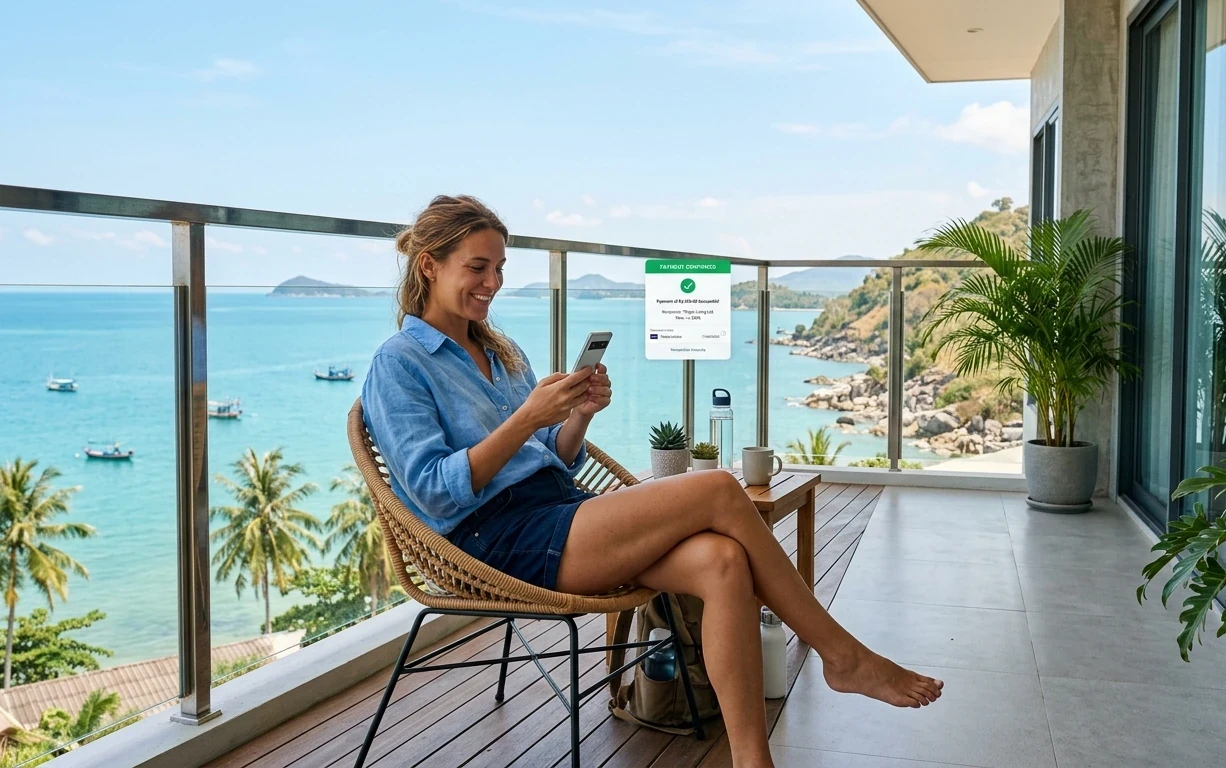
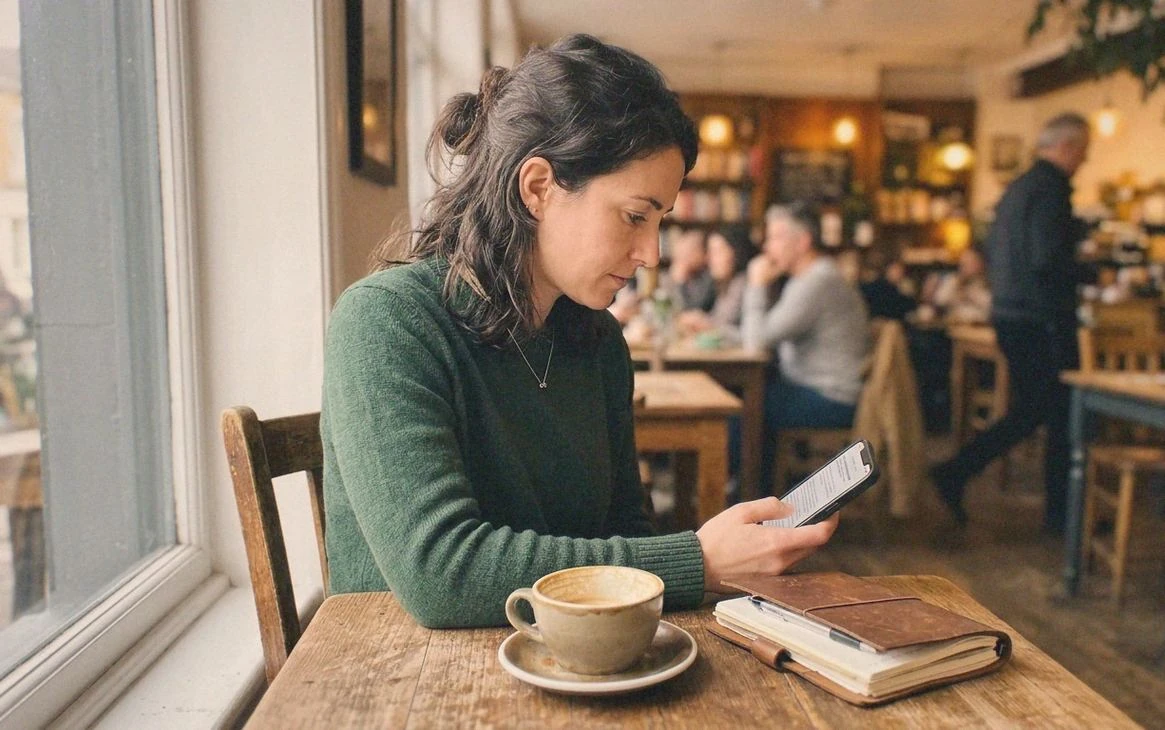
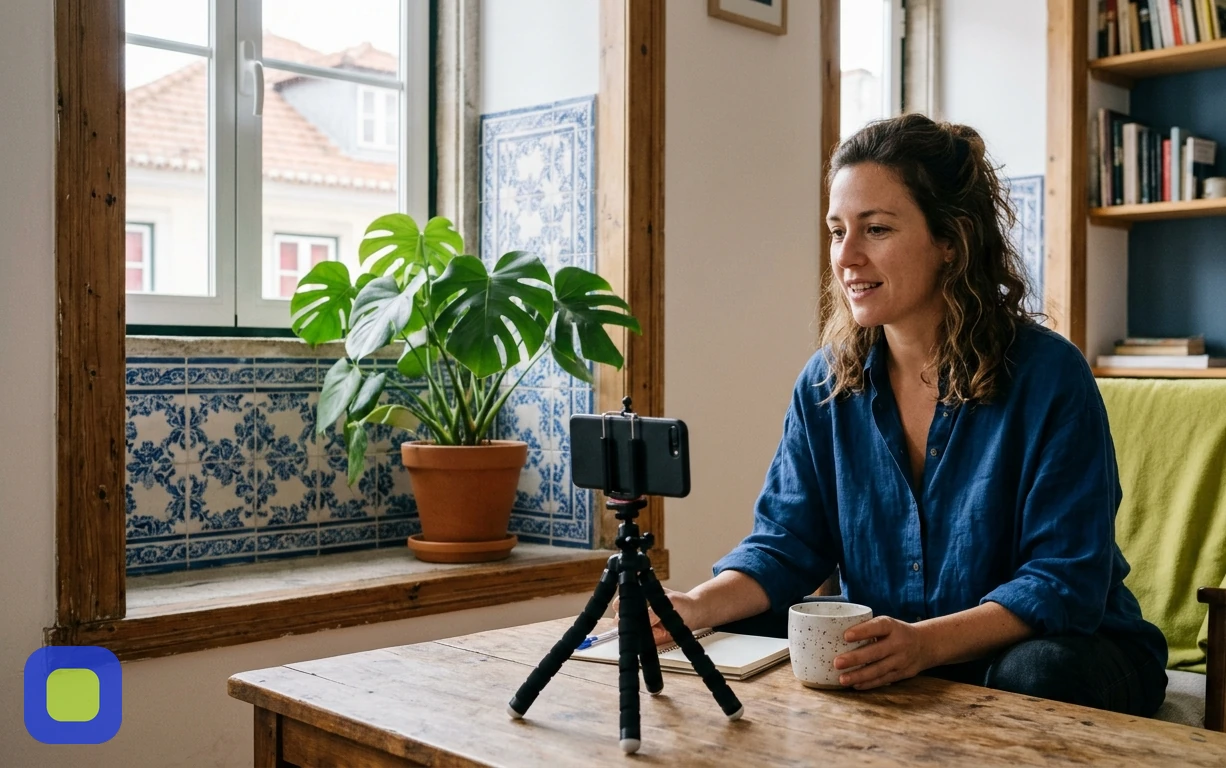
Before we turned the filter on for everyone, we looked at the first filtered images next to their originals, one pair at a time, at full size. The result was clear: the filtered photos look less artificial. The scene, the people and the products are the same, but the picture stops looking like it came out of a machine. Five of those pairs are below. Drag the line across each photo to compare the original with the filtered one.